Wordpress
In this section, we will provide detailed instructions for integrating Lawwwing into your WordPress quickly and easily.
To follow this guide, make sure you have administrator access to your WordPress.
Step 1: Install the Lawwwing Plugin
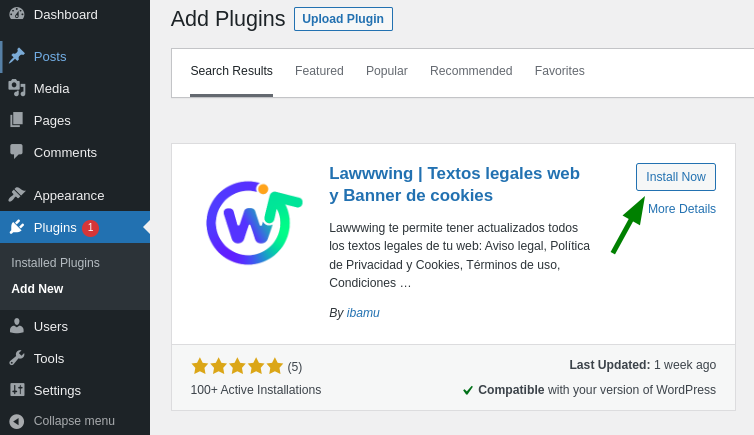
- Go to the Plugins tab in your WordPress Admin Panel
- Click on Add New Plugin and search for "Lawwwing"
- Once found, click on Install and Activate:
Step 2: Configure the Lawwwing Plugin
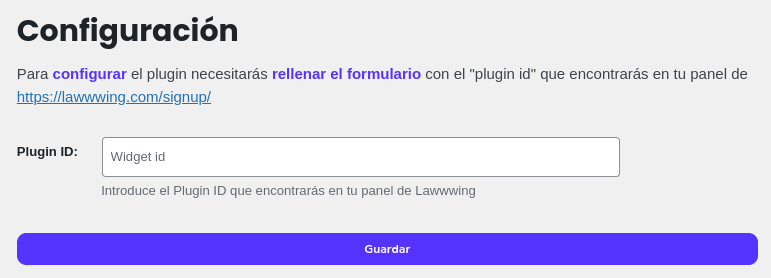
- Go to the new Lawwwing tab in your WordPress admin panel.
- Enter your Lawwwing Plugin ID to link your Lawwwing account with your WordPress.
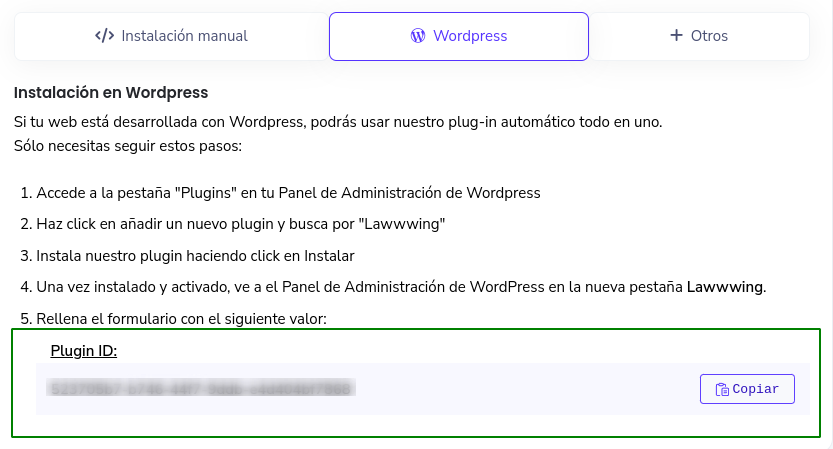
- You can find your Plugin ID in the installation section of your Lawwwing control panel:
If your WordPress uses a cache plugin, you may need to purge/clear the cache after activating and configuring Lawwwing to complete the installation correctly.
The Lawwwing WordPress plugin injects a script into your website and, if the cache keeps an older version of the page, that script may take longer to appear.
🚀 That's it! Lawwwing is now active on your website 🚀
For more details on how to make the most of Lawwwing on Wordpress, visit our Configuration section.
If you need additional assistance or have questions, feel free to contact us, and we will be happy to help you 🙂